Week 1: IoT – Understanding hardware
A fundamental part of understanding how to solve customer issues is understanding the solution. Our solution being an Internet of Things (IoT) solution start with hardware, understanding it along with how to build it and what its limitations are.
IoT: Data Logger
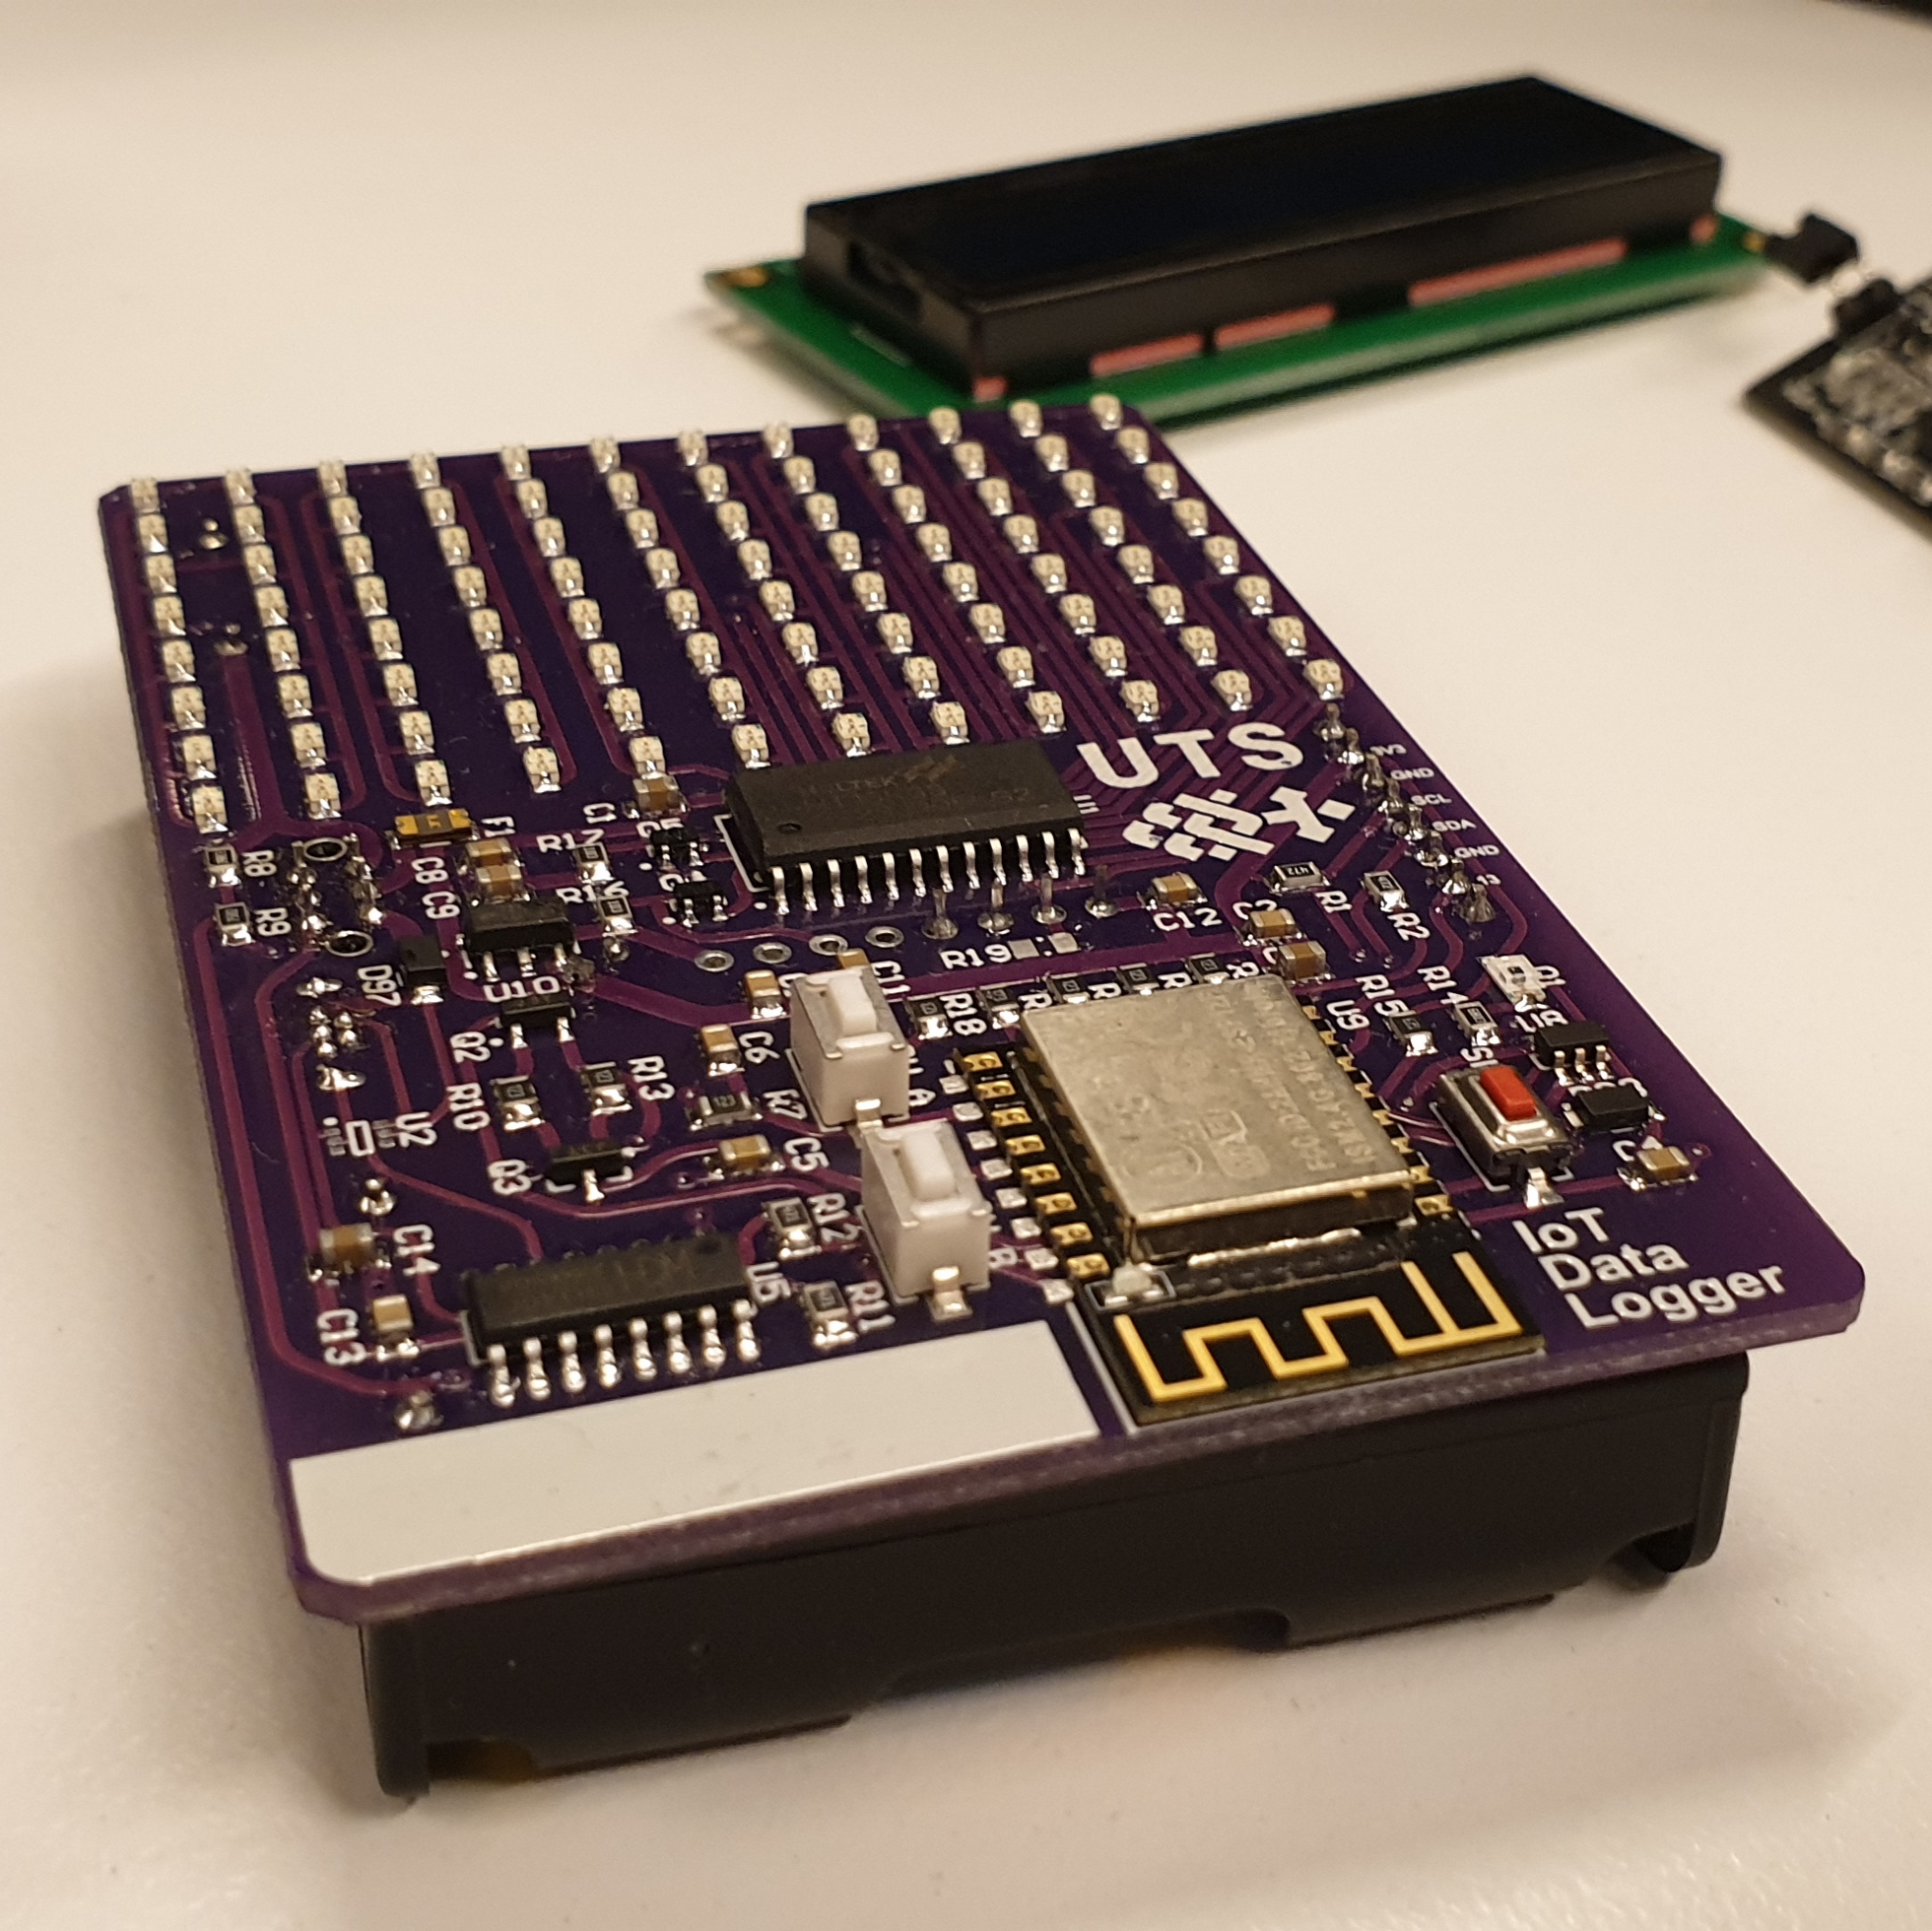
Our first introduction to hardware focused on an IoT data logger. The Data Logger is a device that contains a wifi capability, led board, and numerous sensors including temperature, humidity and luminosity to name a few. Our data logger interfaces with a mobile application, Blynk, to control the display on the LED board for displaying the data being read from the sensors. The Blynk application also allows message programed from the application to the device and is hosted from a server relaying the data.
This is the fundamental basis of IoT, a sensor device collecting data, with collected data being processed via a server then displaying collected data. Control of the Iot device is done via mobile device.
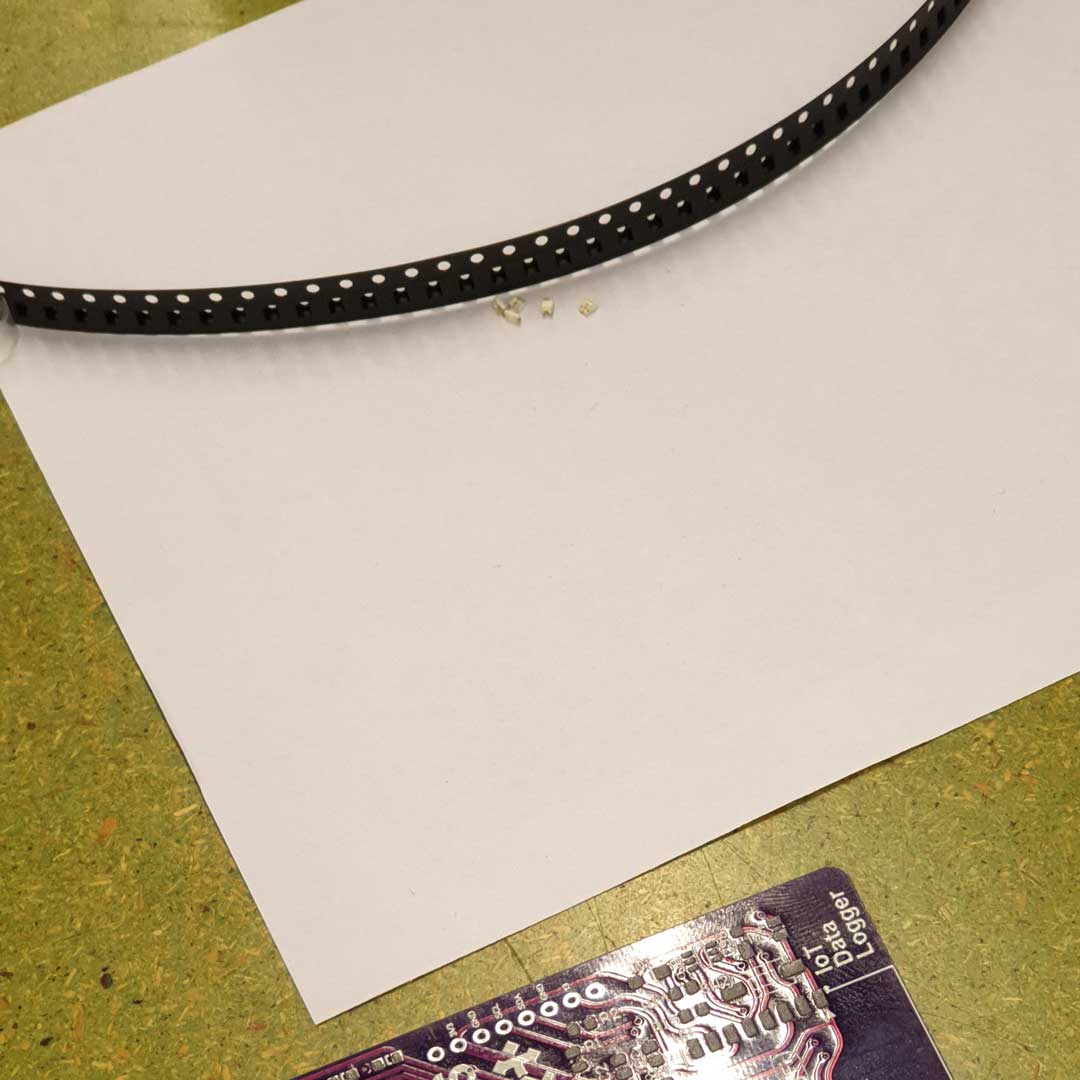
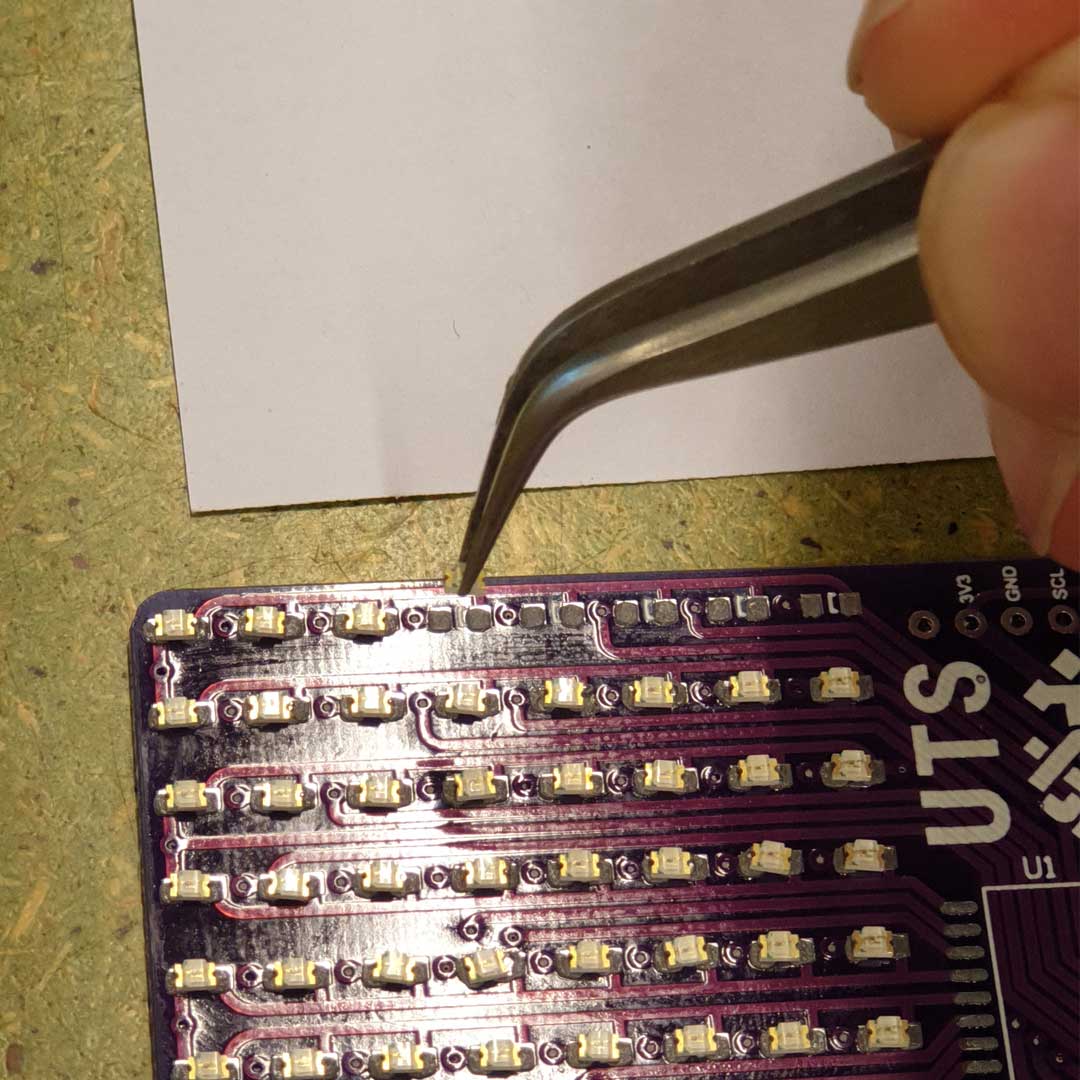
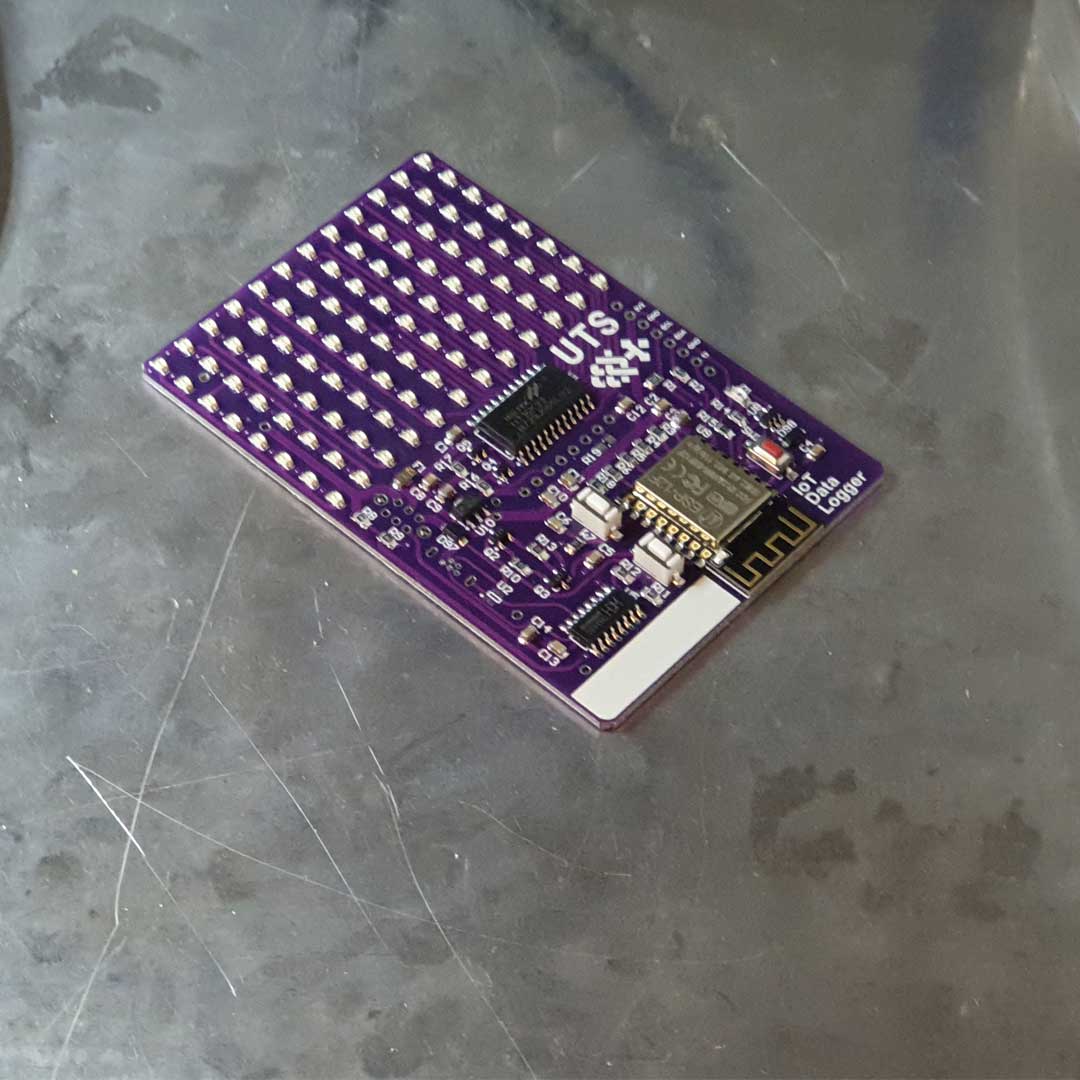
We began by soldering the front components of the IoT data logger via solder paste.
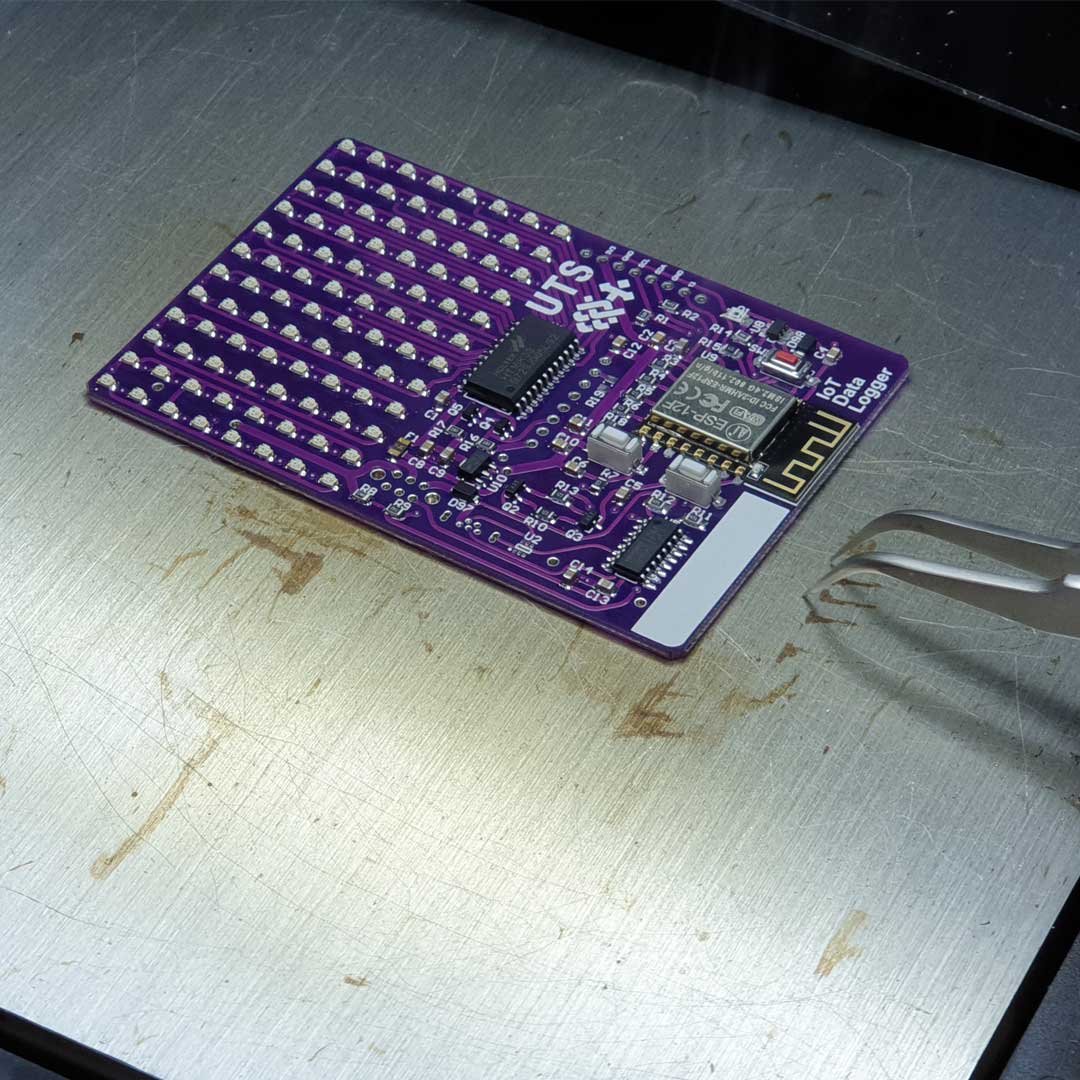
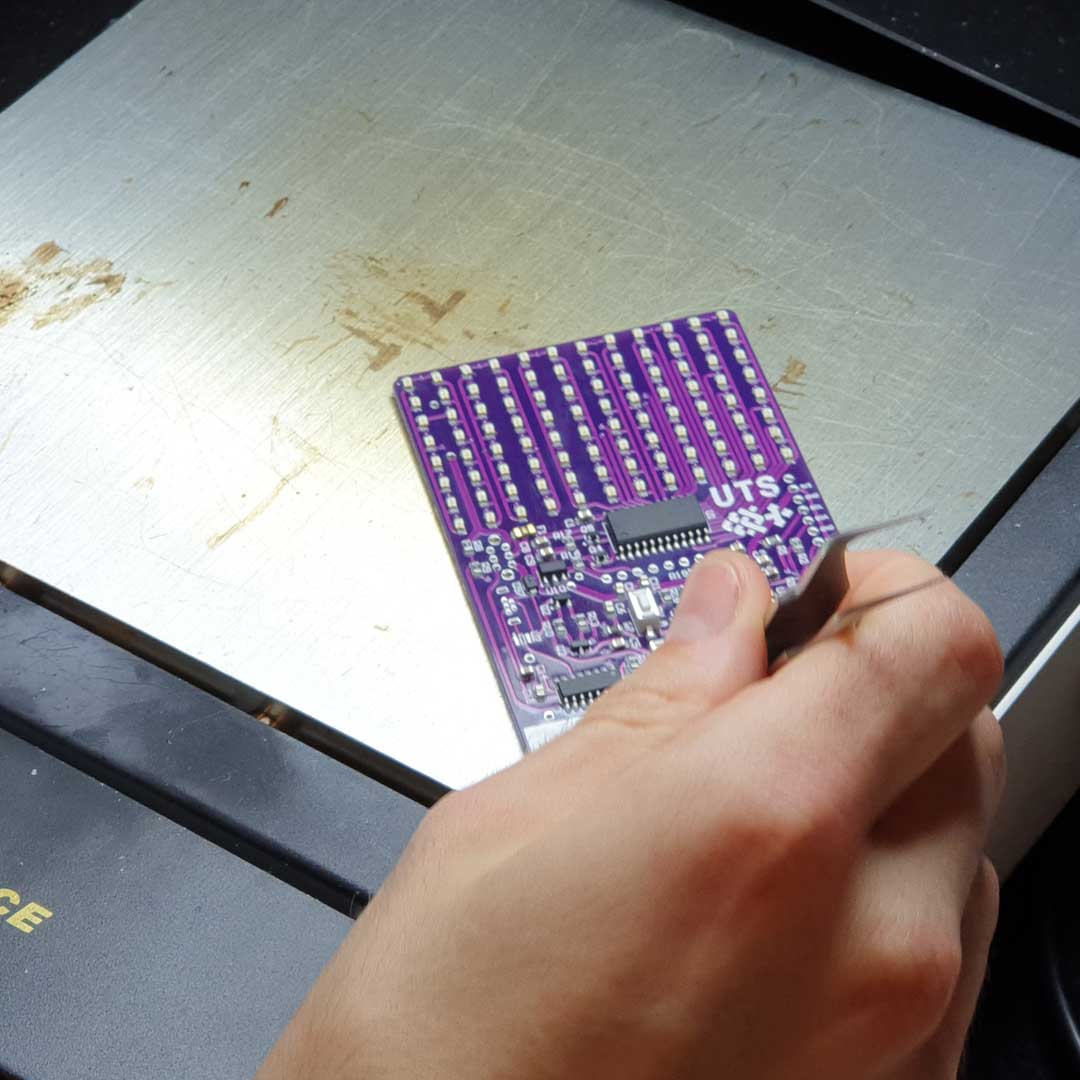
We baked the board on a hot plate reaching temperatures of 230 degrees Celcius to convert the solder paste to a solder join. The board was then cooled on a metal plate with a large surface area acting as a heat sink.
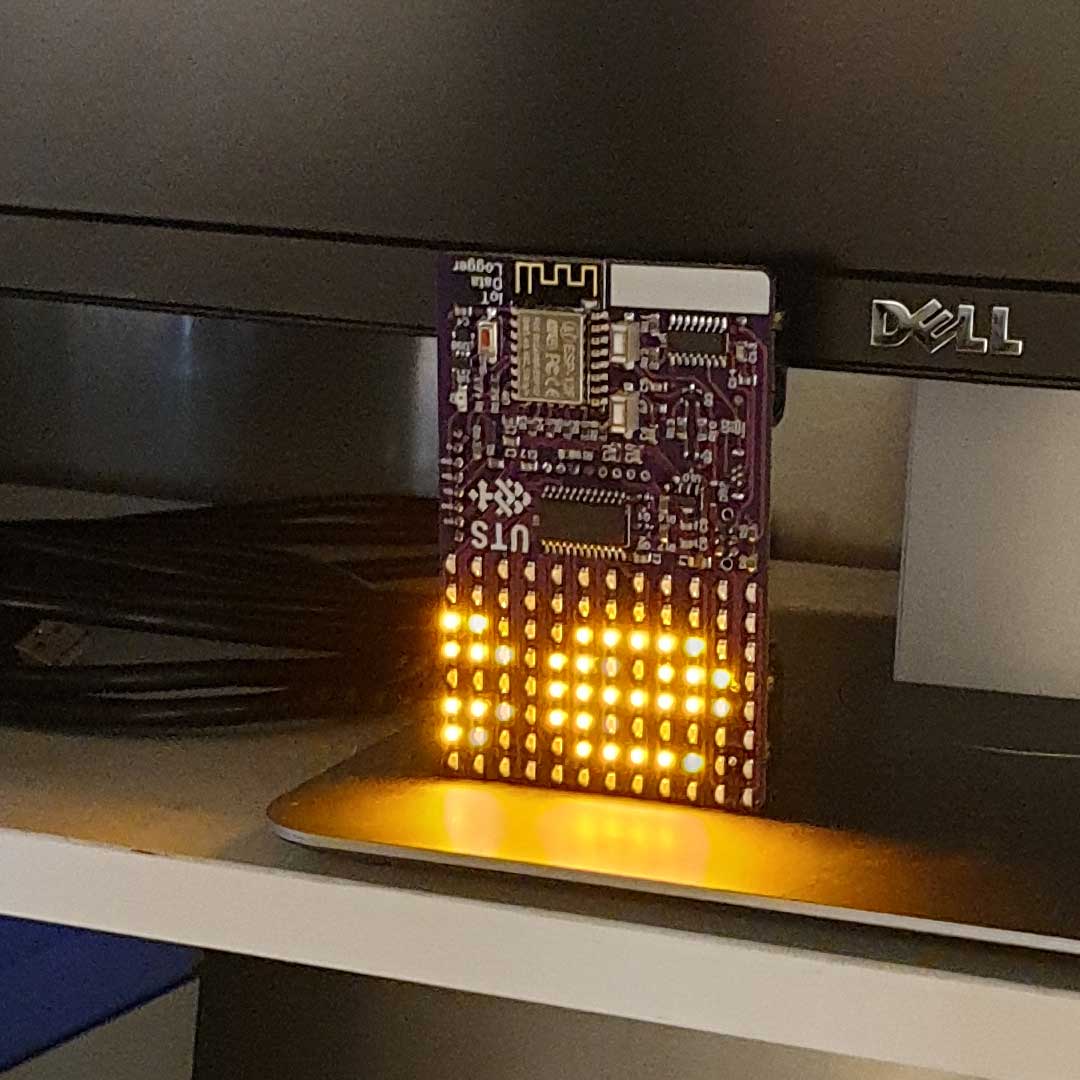
All solder joints are inspected to ensure they are complete. The components on the back of the board were soldered by hand to install the on / off switch, USB and batteries. Once the hand soldered joints were inspected for all joints being correctly soldered the data logger was tested by turning it on and showing the LED lights working.
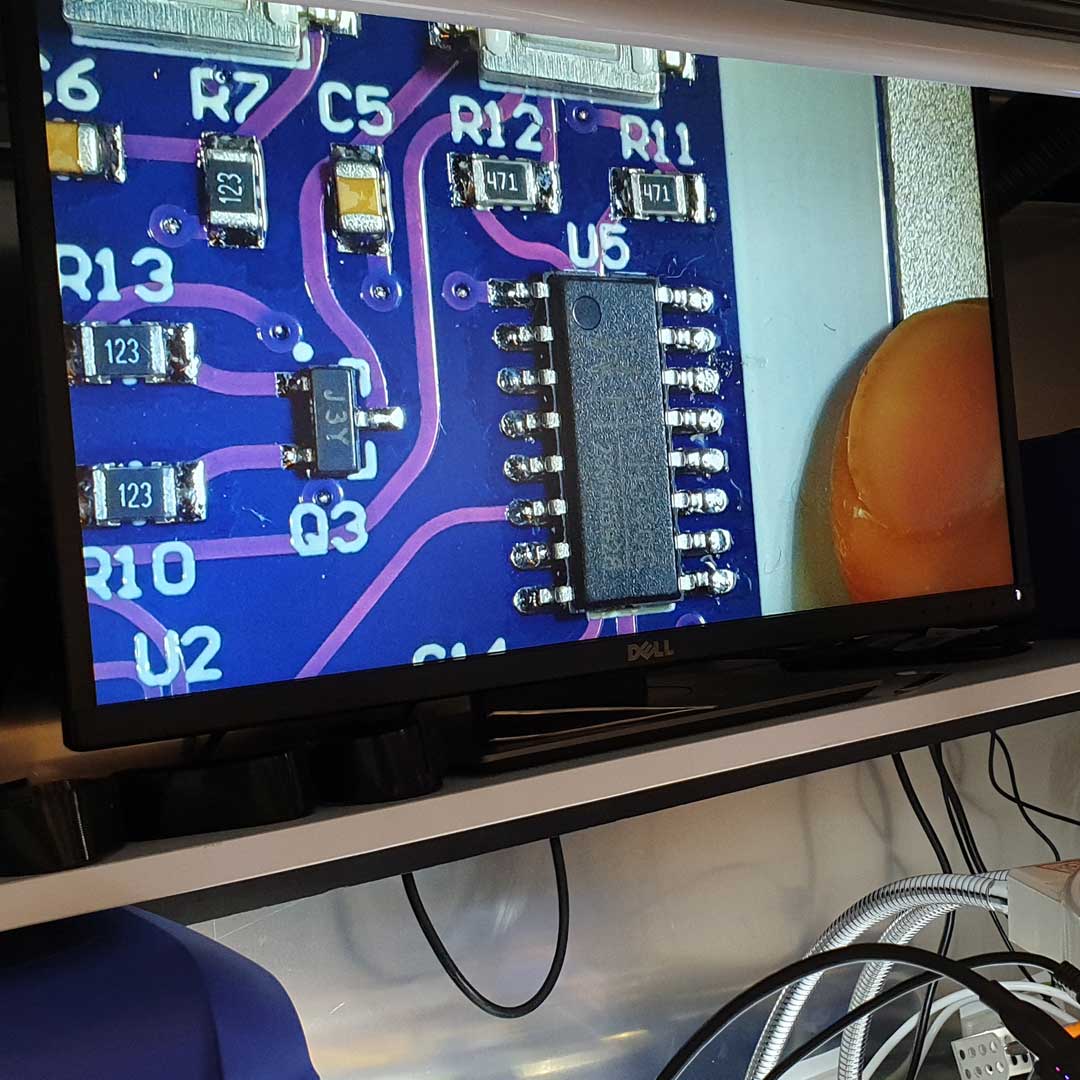
It may be a little hard to see but if you look at component “SW B” and just above component SW B you can see the paste on the joint is not fully heated and soldered. A soldered joint from the heating can be seen at component SW A and to the left of component SW A.
From here we connected out data logger to the wifi and the remote server and blynk application adding features via virtual pins to give the data logger functionality seen below.
Blynk Data Logger Application
Blynk Data Logger Application
Tab one of Data Logger application controls. There buttons and displays show temperature, luminosity and humidity with push to device capability.
Blynk Data Logger Application
Blynk Data Logger Application
Tab 2 of the data logger has controls to send messages that can be displayed on the LED display on the data logger remotely. Other functionality includes controlling scroll rat and disabling scrolling of the message. You can also display a message temporarily with remote pushing via the remote server over the internet.
Blynk Data Logger Application
Blynk Data Logger Application
Tab 3 is a digital joystick that, when activated, can control which LED is lit up on the display and enable you to control which individual LED is alight in real time.
Week 1 | Class 2
Wednesday 22 January 2020
Identify a problem & its stakeholders
In my work in Sydney’s hospitality industry, I have seen many opportunities for the development of IoT products to enhance and make more efficient systems of managing stock and produce.
One such area exists in stock management and control with a focus on efficiency with error minimization in stock handling of alcohol. There is never a system of weights and measures that can fully eliminate wastage of stock in bars. My project aims to minimise stock wastage and human error in stock handling through efficient use of data with real time feedback.
My solution includes more efficient means of sock control with the outlook of providing real time data on stock management. This will in turn potentially saves time in running full monthly or biweekly inventory stock takes maximising management’s time in other facets of their roles.
Physical full inventory audits will always be necessary when taxation and finance is concerned at the front of house level of hospitality. The frequency in which they are run will be minimised, to near zero, with an IoT solution such as my proposal saving money in man hours opening management to more creative sales pursuits.
Extending this system to other facets of transport and logistics, specifically for the hospitality industry can continue data flow of product from producer to retailer through wholesale supply chains. Devices built to measure climate of storage centers and weights of palettes in real time will allow those trading in wine to manage and control their product stock levels from anywhere in close to real time.
This is highly important in reference to alcohol. if the product breaks or spoils in transit the fallout can be mitigated before sale has been made or promises of delivering product that is rare or in short supply is finalised. This makes doing business in a highly competitive market faster, more reliable and efficient giving a competitive edge when doing business.
The implications of such a system are to automate paperwork and streamline processes so those that wish to concentrate their time to further research on product or negotiation with producers and suppliers can fulfill their demand while balancing the demands already on their day to day business.
In consulting with colleagues that own their own bars in Sydney I have identified not only the need to build a system of efficiency such as the aforementioned idea but to tag and identify bottles in a venue quickly and easily while associating a tag and the label. An iteration of development in applying RFID tags to bottles with image recognition that links labels to the tag would then enable tracking of bottles via the RFID.
RFID is a cheap and easy method of identifying and tagging. More research will be required to follow any implementation of such a tagging system to then track weights and measures for stock control.

Building Arduino and Documentation
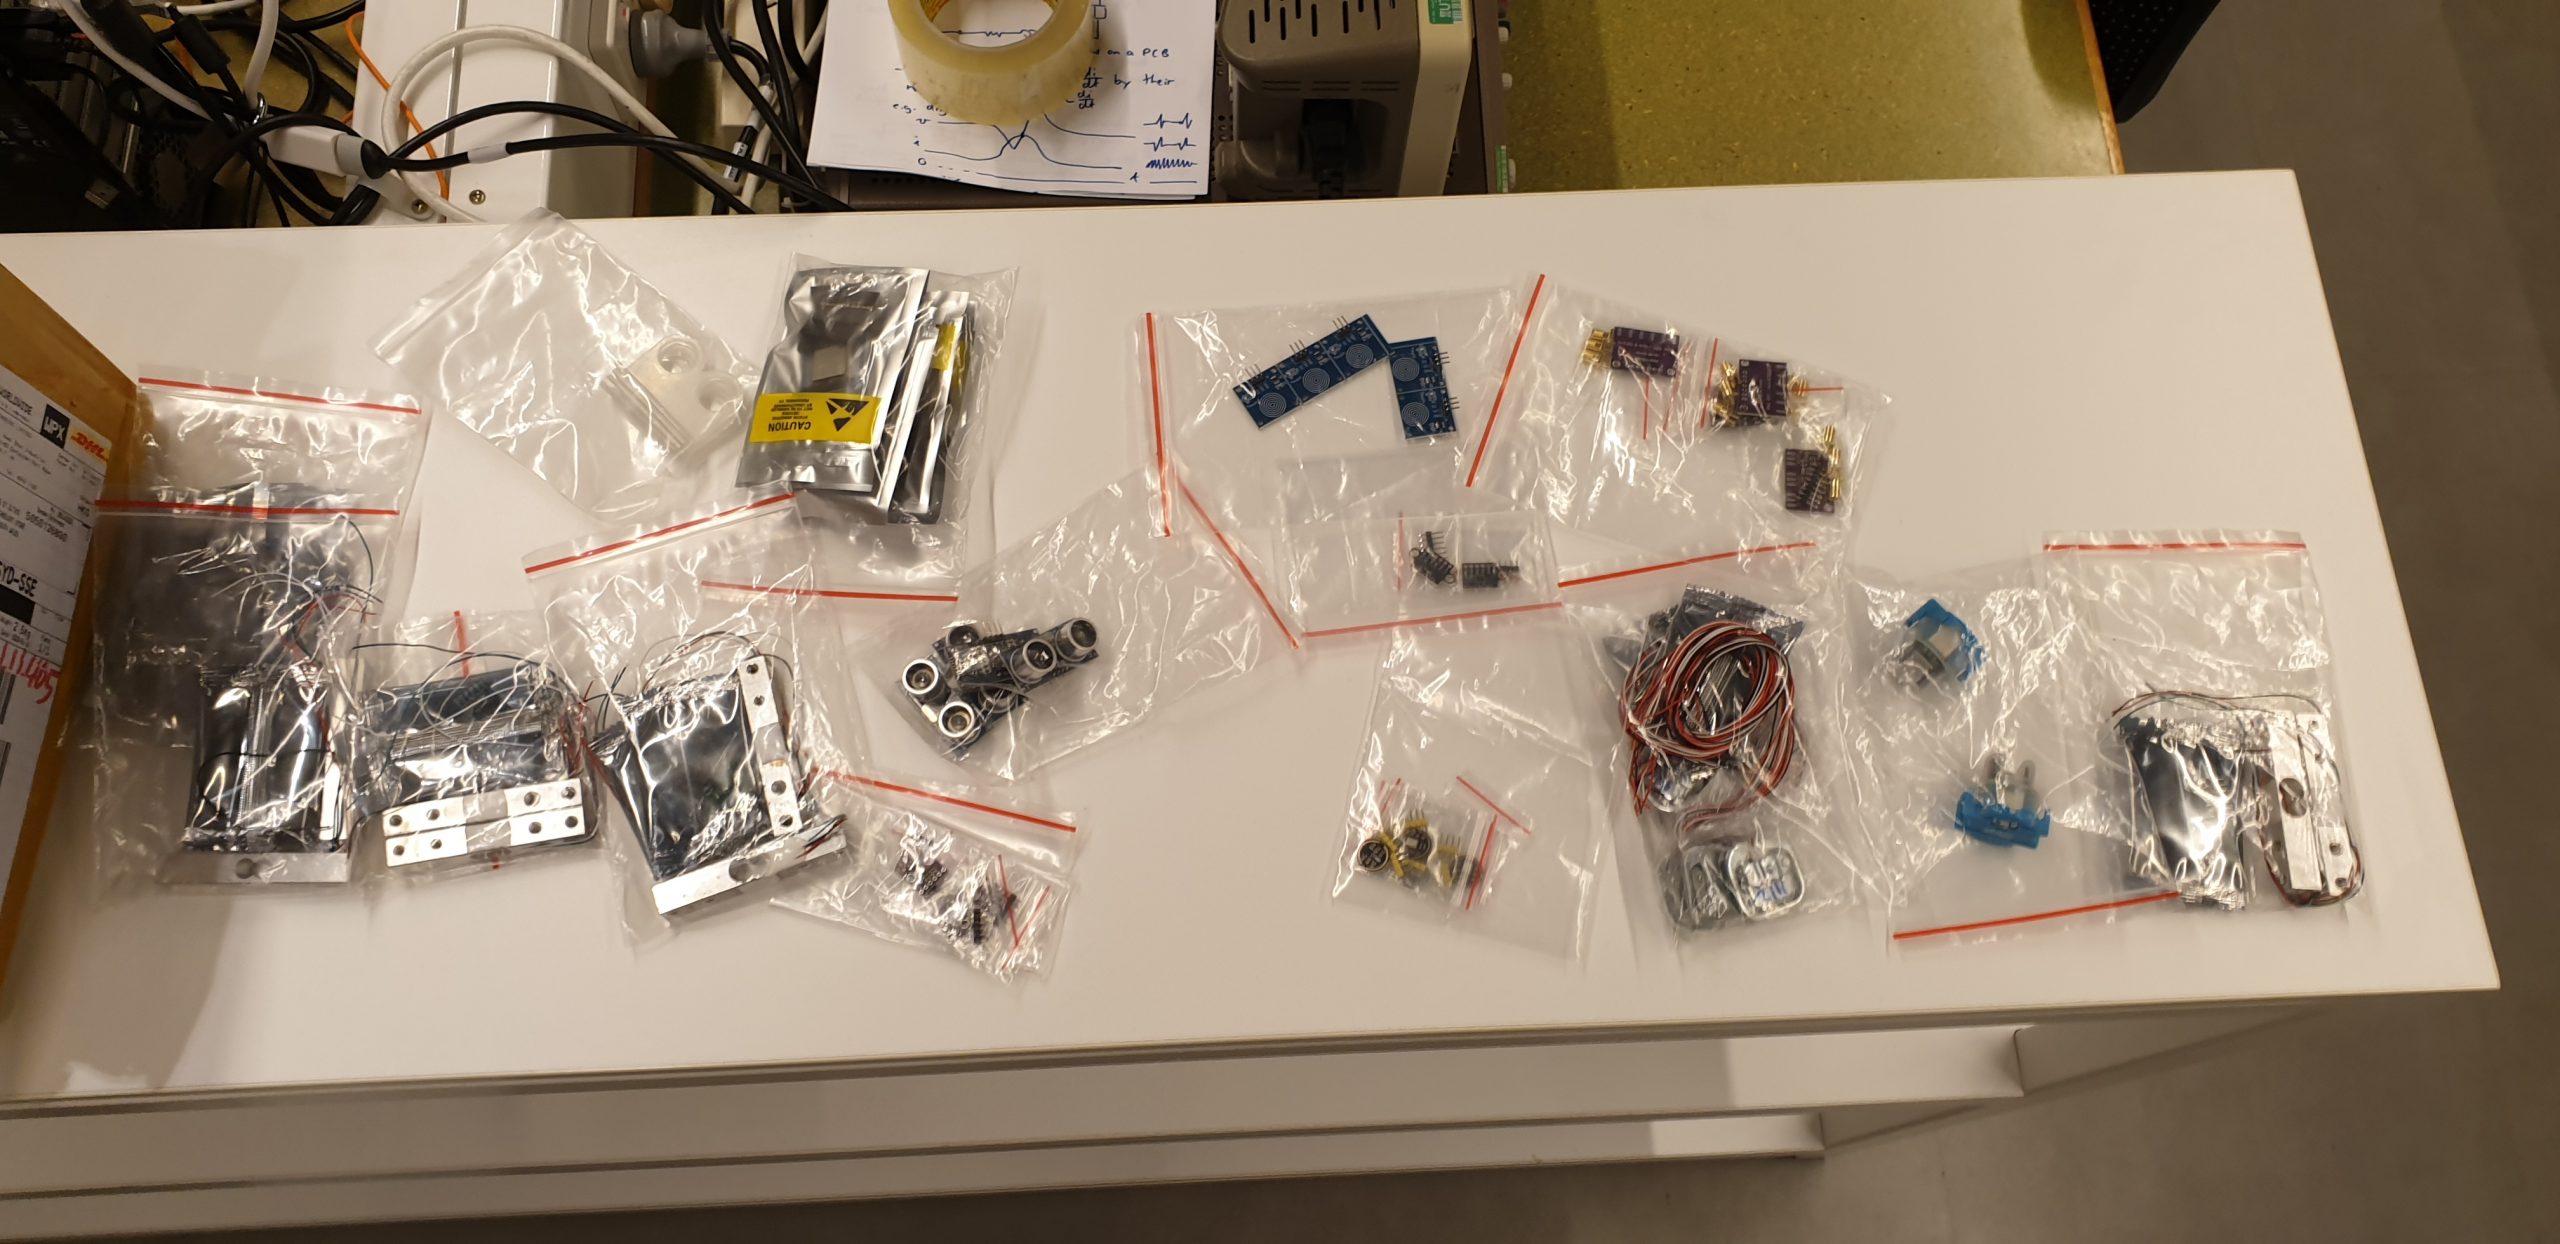
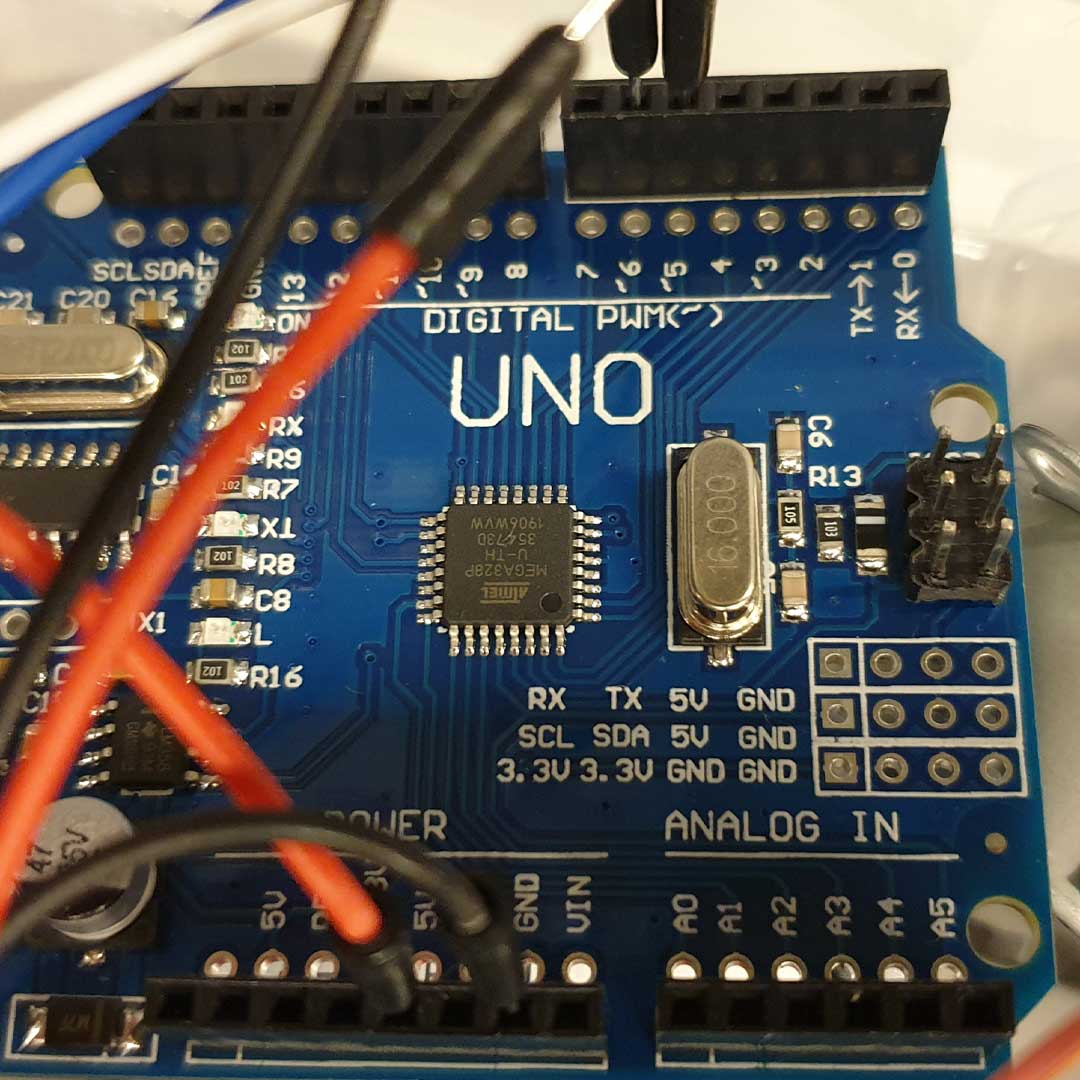
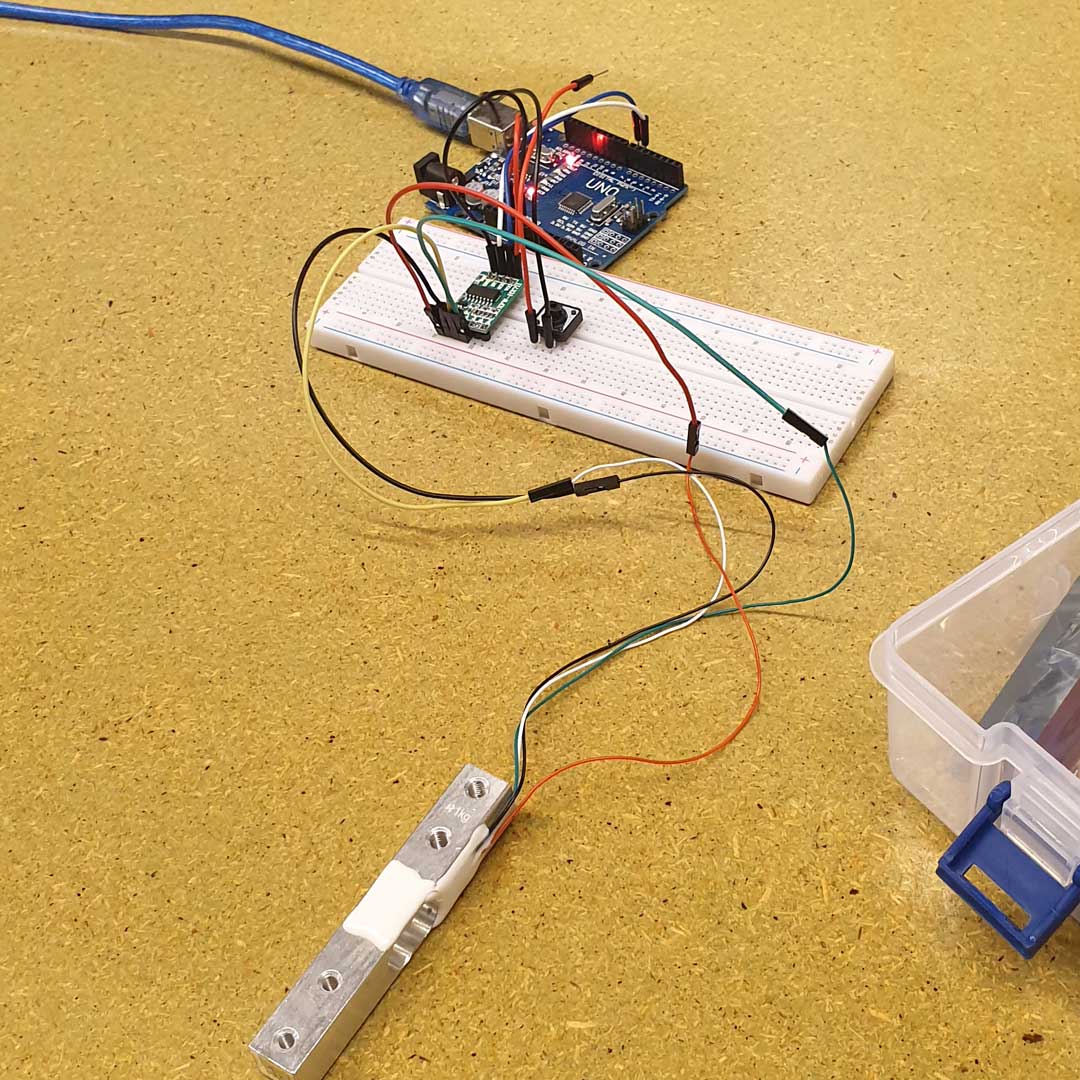
Our next step involved finding sensors to attach to our new Arduino Uno circuit boards. I selected a digital weight to attach to begin. I managed to get the load cell attached to my computer via serial and collect weight data. This was done via plugging pins from the arduino into a XFW-HX711 chip for load cells.
When connecting pins the online tutorial had the configuration incorrect. It took me sometime to discover this and found a solution in the Arduino IDE source code to find the right pins.
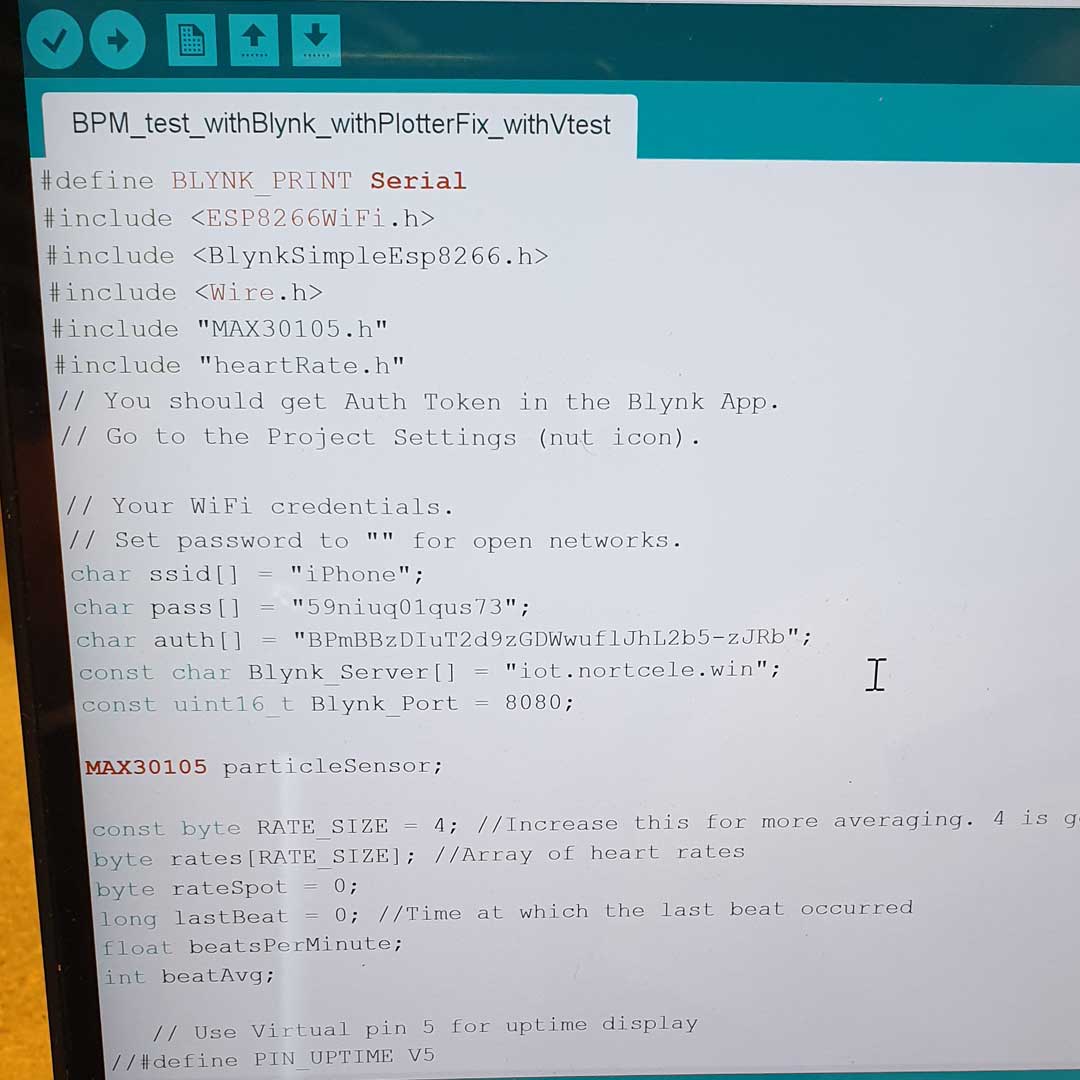
We programed through the Arduino IDE in C++. This presented challenges as calibration for the load cell took time.
As I needed to document my progress I build this webpage through wordpress after buying the domain and hosting from a reputable service provider. I chose an independent web service provided as I want to convert my portfolio items to my own relevant folio for professional distribution.